In most cases, while configuring and testing a PowerConnect Actionable Findings system, several test messages are created. To avoid conflicts or confusion, these messages should be removed. CS Tools system administrators can delete these test messages from the system.
To use the Delete Test Messages feature:
1. Click System Admin > Delete Test Messages. The window in the illustration below opens, allowing you to search for the messages you want to delete.
2. Select an Institution Name and a Group from the two drop-down lists in the Select area.
Use the following table as a guide when searching for the messages.
NOTE: Field names followed by an asterisk (*) are required. |
Section |
Field |
Description |
Select |
Institution Name* |
Select an institution from the list. |
Group* |
Select a group from the list. |
|
Search Agent Message |
Select this check box to search agent messages. |
|
Message Details |
Reporting Clinician |
Select the reporting clinician from the list. |
Ordering Clinician |
Begin typing the first few letters of the OC's name and select the name from the list that appears. |
|
Patient Last Name |
Enter the patient's last name (if known) |
|
From Date |
Select a start date for the search. |
|
To Date |
Select an end date for the search. |
|
By Message IDs |
Message ID(s) |
Enter one or more message IDs to locate, separated by commas. |
3. When finished entering the search criteria, click Search. The following illustration shows an example of a search.

4. From the list of messages, select the check box (located in the right-most column of the results) for the message or messages you want to delete. Use the check box in the header to select all messages.
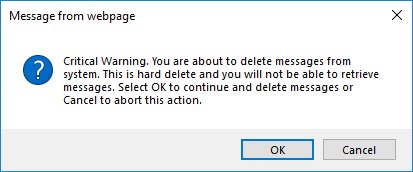
5. Click Delete Messages. The following warning message opens.

6. To delete the messages, click OK. To keep the messages, click Cancel.